Dollhouse Paint Stencils
April 2014
Creative Paint Stencils in Mini ..
Is there a Place for Stenciling in Dollhouses? ..
Crafting Ideas
More Projects in Miniature
Is there a place for paint stencils in dollhouses? From what I have read and seen in the mini world there definitely is. You can apply stencils to any room you are working on to give it that finished look. It is described by some people as "the perfect way to tie a room together".
If you can visualize it then you can accomplish it. Anyone these days can enjoy the many benefits of using stencils. In all forms of things you want to create for your dollhouse.
Just like the large, full size scale you live in, you can decorate or embellish any object you want to with paint stencils. Try it on wall borders, finishing touches to furniture, developing a continuing style throughout a room or adding highlights here and there.
Wall Borders
We have all seen these accents in well tended stately rooms. Simply paint your wall color on and start using your chosen template. Touching on the top of any wall with the style you like to design a border like no other. Or use a mini template to make the walls look papered with a continuous theme running skillfully throughout the room. Your imagination is the key here.
Finishing Touches to Furniture Pieces
Wanting to add life like depth to your miniature world? When observing large scale items, once again copy what you see. If you find a nicely decorated box or furniture piece start designing a pattern of your own. Using what is in front of you for inspiration. If you can trace the effect on paper you may be able to shrink the pattern. Cut it out on acetate or waxed cardboard. And you are one step closer to the results you want. Study mini books for how-to's. Plus don't forget large scale instructions can be used to develop what you want in this regard too.
Paint Stencils for a Continued Theme
If you are using roses for example as your theme. You can add the same decor element to various additions to your room. You can paint roses on curtains, table cloths, wall decor, carpets .. Use the same emblem in tiny pictures. Make everything match as you choose a new item to complement any current room.
Adding Highlights Here and There
Just like using sparkles or dots on particular objects. If done creatively your stenciling will add to the beauty of what you design. However if used in excess of what is complementary .. Your efforts will ruin the results you seek. So always use a new idea sparingly. You do not want people coming away from your design thinking "my what a mess". We all need the knowledge of when to quit. Or when you've reached your limit of enough. That said though let your heart lead you to your own creative excitement.
Take the advantage of signing up for our most recent Mini EBook Offer.
Acquiring skills has never been easier. However you will never know unless you give it a try. You too CAN create the dollhouse structures you have always dreamed of.
Who said construction is only for guys. We girls love building too. Read more now. Sign up here today.
PROJECT: Make your own Paint Stencil
Make your own Paint Stencils in your Favorite Scale
Step 1: Pick your scale. You can do that here for starters on our scale page. Make sure if using an illustration such as a rose. Measure your rose image in full scale and convert to your choice scale. Taking the image down to the proper measurement will guarantee excellent results.
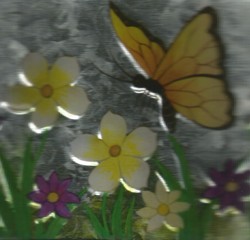
The scale I chose was playscale. For the image on the right. This is an butterfly image taken from a decorative container on my desk.
Step 2: Place your image on a plain white sheet of paper. Making sure to create just enough detail to help it look its part. If you are working on a rose there are plenty of good images online to get a few good ideas from. For instance where and how to place lines and accents in your picture to be creative.
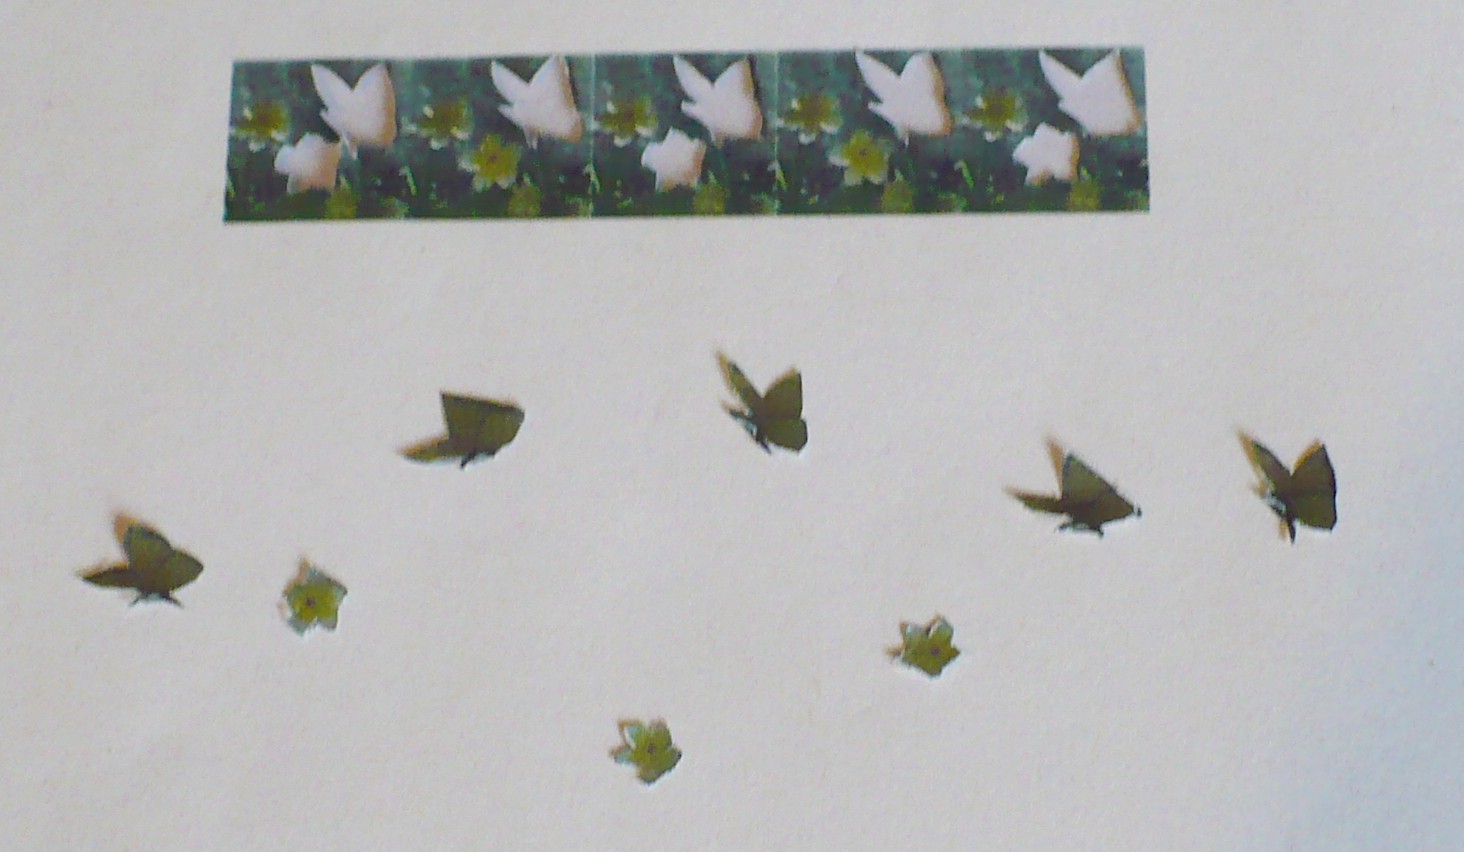
Below you can see the start of my paint stencil in mini. I wanted only a few flowers and butterflies. Anything that small needs a minimal detail. And it lends itself to be added to after the first coat of paint has dried. Like for instance adding an additional tiny center to the flowers in a different color. Or lines on the butterflies.
Also when cutting these items out.. Be careful to do a great job. You may want to use your tiny images as decals in particular places as a continuing theme in your room.
Step 3: Next transfer your creative genius to card stock. Or you may want to continue using paper. However make sure to coat it before you begin with a waterproof substance. Or use waterproof paper. Available at most stationary stores. So as to prevent bleeding or paint getting in places you do not want paint on.
Be as careful as your artwork demands when cutting out your design. You will want very clear, clean, neat lines and details. Now you have your own original stencil to work with wherever you please.
Design Tip #10
Wall Designing made Easy
There are a couple things to notice as you draw a wall.
- The wall’s length displays in two places: above the wall and in the Status Bar at the bottom of the screen.
- Wall angles are restricted to increments of 7.5° when Angle Snaps are on. Select Edit> Snap Settings> Angle Snaps and make sure they are turned on for this tutorial .. Quote from Home Designer User's Guide
Paint Stencil Book List
Learn More about Stenciling with These Books
Books are the best way to learn anything. Where stenciling is concerned there is no exception to this rule. If you are wanting more info checking out books on this subject is a first stop. Both at the library and from various market sources.
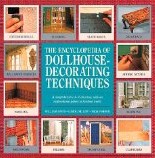
Large scale subjects really do apply as well. All of those techniques work in mini. Although with some minor adjustments on your part. So I have listed some of the top look inside versions below. Plus there is a section outlining dollhouse stenciling in The Encyclopedia of Dollhouse Decorating Techniques. Pictured on the right. Clicking the picture will take you to your copy.
4 Top Stenciling Books for Ideas
Search or Select your Stencil Book Here
Build Doll House - Woodworking Scroll Saw Pattern + Instructions to Build Your Own Victorian Barbie Mansion

Subscription Details:
- To get placed on our monthly email list fill in the form above in the right column.
- To remove your name from our mailing list, please see instructions at the end of monthly Ezine notification email.
- Questions or comments? E-mail us using this convenient form on our Contact Us Page.
- Or call us at: 506-457-9512.
 The Toy Shoppe Visit our Dollhouse Store Online for houses, furnishings, dolls, kits, supplies, books..... for ideas on wares, designs and ready-made goods.
Dear Friend at the Doll House:
As an Amazon Associate we earn from qualifying purchases. So accordingly any link to Amazon opens in a new window on their site and gives us a commission if you buy. In turn it helps earn a small amount toward maintaining this site. Thank you for helping us keep doing what we enjoy.
- Go to Main Site Page from ›
- The Minis Zine






New! Comments
Have your say about what you just read! Leave me a comment in the box below.